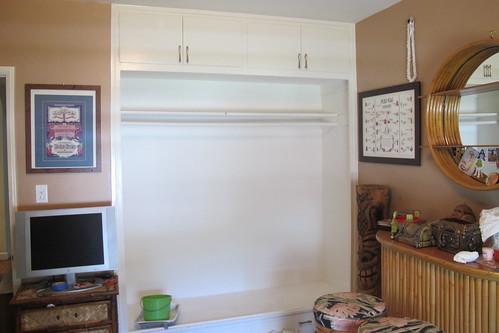
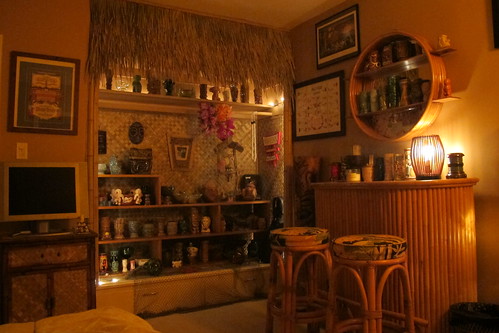
When we moved in to our house, I wanted to turn the guest room into a tiki room, of course. Part of the space ended up having more of a midcentury modern feel, but I also wanted to go all out with some bamboo and thatch so I decided to transform the closet into a tiki hut mug display.
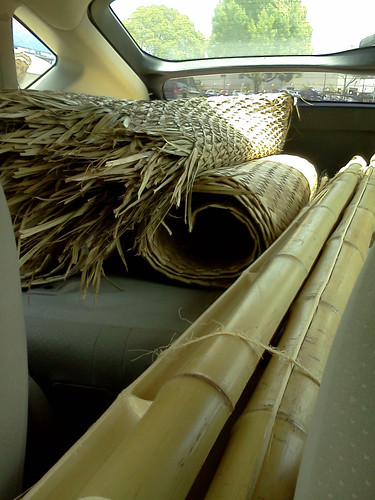
I started by doing a lot of measuring then took a little road trip to Whittier for supplies at Oceanic Arts, the premier purveyors of tropical décor. LeRoy Schmaltz and Bob Van Oosting have furnished many tiki bars and Hollywood productions like “Gilligan’s Island” (and even Walt Disney’s Enchanted Tiki Room!), so it’s worth a pilgrimage even if you aren’t working on a particular project. If you call a few days in advance, they will cut and split the bamboo pieces for you and have it ready to pick up. My haul was three sheets of lauhala matting (one 4′ by 8′ and two 3′ by 6′), a few pieces of two-inch split bamboo, one-inch sea grass braid and two lengths of raincape thatch (3′ by 4′ each).
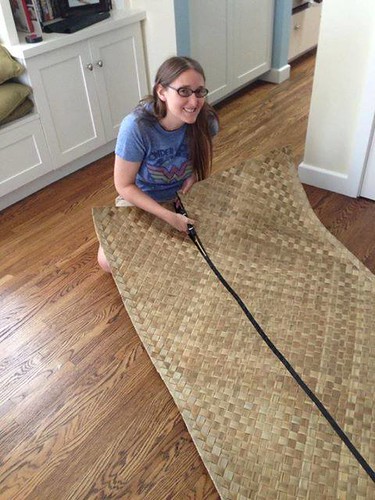
There’s a useful Tiki Central thread where I learned about putting tape on the back of the matting when you cut it to keep it from fraying. A pair of Husky scissors worked well enough.
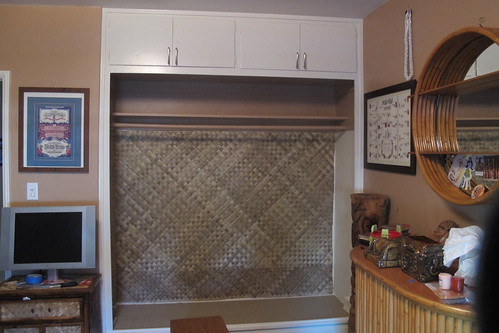
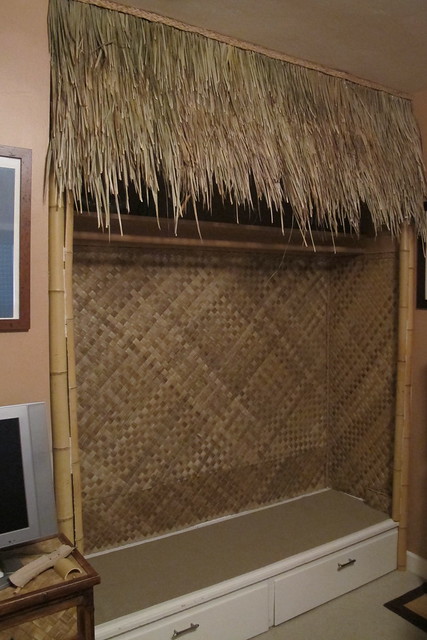
Some people use a staple gun to attach it to the wall but we went with contact cement and it’s held up for a year now. (It probably won’t be pretty when we take it down, but it is just a closet, after all.) The matting didn’t line up totally flush with the edges on the wall, so the segrass braid was perfect for concealing the imperfections. Working with the lauhala matting proved to be pretty labor intensive so we painted the top shelf brown like the rest of the room.
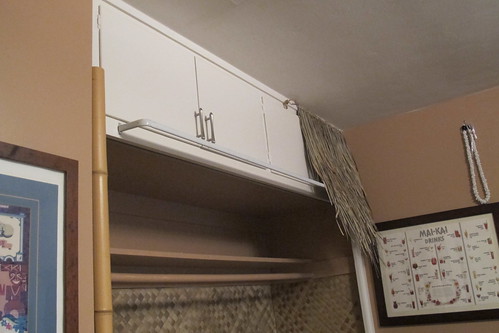
I gotta give credit to my Mom, who helped with this project and came up with a clever way to hang the thatch at an angle — a curtain rod! After trimming the thatch to the desired length and width, I nailed big thumb tacks into the wall every few inches to hang the thatch and then covered up the hardware with more of that seagrass braid.
We fit two pieces of split bamboo on each side of the closet frame and super-glued them in place. As you can see, we then discovered that this particular glue didn’t dry clear! We ran some twine between the gaps of the bamboo to disguise it. (You may also have noticed that the bottom piece of matting on the wall doesn’t quite match the shade of the upper piece, but you can’t tell once we put everything in.)
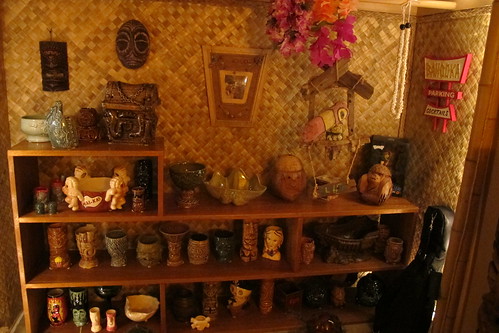
At our previous apartment, we had this giant double-decker wooden shelving unit storing DVDs. I almost pitched it during our move until a friend pointed out that it could house my tiki mugs. As luck would have it, it perfectly fit in the closet. Then came the fun part of setting up the mugs and other things like the driftwood toucan perch by Tiki tOny and the Bahooka tribute sign by Lake Tiki.
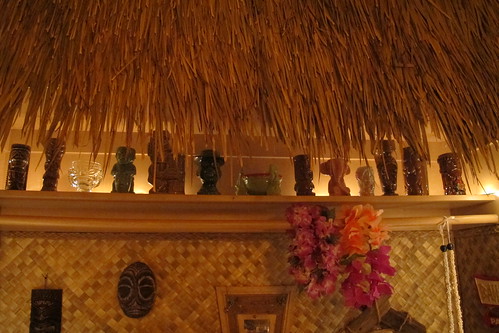
Mr. Hockey rigged some white Christmas lights along the top shelf for quick and easy lighting. He also hooked up everything to one power strip so I have instant mood lighting in the tiki room with the flip of one switch.
And here’s the finished product! Almost forgot one very important step for Californians (or home tiki bars with cats in residence): make sure to put museum putty on the bottom of those tiki mugs!

Love it! Soo cute! I may have to copy that idea at some point. Good job and thanks for posting all the cool tiki locations to try.
Thanks for the support!
That’s awesome! I’m inspired! Now I just need a spare guest room (I don’t think my wife will let me turn our kids’ room into a tiki hideaway!
Try for the living room or dining room! 😉
You are the COOLEST TIKI CHIC!!! Love your blog!!!!!
Mahalo, Victoria!!
Awesome! I
l’ll have to try that in my Hawaiiana room! (Which is Trader Vic’s orange btw)
Mahalo! Trader Vic’s orange — how cool!
This is so awesome and creative!!! Looks wonderful!
Thank you so much!
Becky, I love the transformation of your closet! It was great following the sequence. Your room looks fabulous! I was glad to hear of Chad’s touches at the end.
Sent from my iPhone
>
Thanks! Indeed, he proved to be helpful at the end. 🙂
Fabulous Tiki decor! I just wrote my first blog entry on tiki but I’m new to collecting it. I’ll definitely be following your blog. Your finished display looks awesome 🙂
Thanks! And welcome to the wonderful world of tiki collecting
GREAT Tiki Room! i wish i had space to make something like this myself.
Thank you so much!
Hi !! I love your natural good girl look..no tats….no dye..you look just lovely..and your site is charming!!
Mahalo, kind sir!
This is truly inspirational! As our kids grow and vacate our home, I am definitely going to set up a tiki room in this style!
Mahalo, TikiJohn! I’m afraid we’re on the other side of that spectrum….this will probably be a kid’s room eventually. So then I’ll be taking over the garage!
I was just looking up Tiki Bars in Vegas, but now I am having the BEST time going through your entire website. So awesome!
Thank you so much!
That looks amazing! I’m converting a closet into a tiki room, and your blog was on the first page of hits. How did you get the lighting so perfect?
Thanks! We ran white Christmas lights behind the tiki mugs on the top shelf (and along the sides of the bamboo).